Fly tying instruction Universal Mayfly Nymph
How to tie the Universal Mayfly Nymph
.
Fly Tying: How to tie the Universal Mayfly Nymph
This fly pattern, the Universal Mayfly Nymph, is easy to tie and may well help you out of many a fix on the water. By using a variety of materials, of colors, thinner or thicker lead wire or different heads you are able to tie an immeasurable number of different versions. In case you add legs from natural materials, rubber or plastic you may still easily multiply that number. Fly tying instruction Universal Mayfly Nymph. This Universal Mayfly Nymph can help you in many a situation on the water. It is so universal because both weight and color can be varied to a great extent.
In my tying, I maintain a certain restraint as far as using tungsten heads is concerned. If you happen to hit or only touch a rock on your back cast, your tungsten head vanishes completely. That is why I prefer brass beads, be they untreated, nickeled or gilded. Now let´s get on with tying.
1. As with many other nymph patterns, wrapping the hook shank with lead comes first. If you are not using any bead head, you may apply a little super glue on the shank and wrap your wire on top of that. This way your lead will cling to the hook shank and won´t slip. One and a half layers of wire will make a nice tapered body.
2. Next you cover the hook shank with touching wraps of your tying thread, at the same time tying in some fibers to form a tail protruding horizontally from your fly body. You may use hackle fibers or hairs picked from fur.
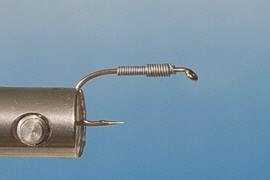
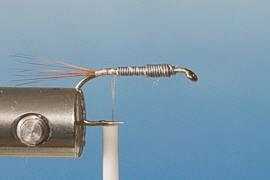
3. Next, tie in your ribbing material, e.g. copper wire.
.
.
4. Apply some dubbing of your choice to your thread. Softer dubbing is easier to apply than stiffer versions. You might also split your thread as indicated in step 7 and place your dubbing in between two strands ...
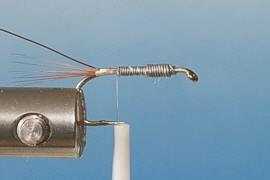
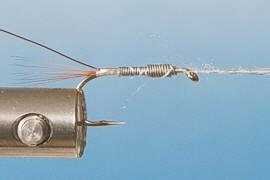
5. ...and wrap your dubbed thread around the rear two thirds of your hook shank. The farther to the front, the thicker your wraps may come out.
.
.
6. Now tie in a latex strip about 2 to 4 mm wide right behind the hook eye so the strip protrudes in front of the fly. The width of the strip depends on your hook size. If your hook is size 16, 2 mm may well be too much, if it´s size 8, 4 mm may not be enough. Just test and find out.
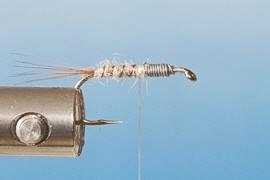
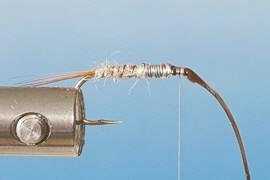
7. Split your thread and apply the dubbing needed for your thorax in between strands. With some practice, you may be able to apply two different materials, one after the other.
.
.
8. Now spin the thread with the spikier dubbing, e. g. seal, which will form your thorax with the nymph´s legs.
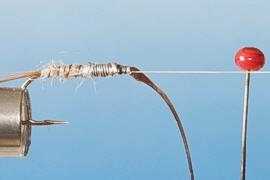
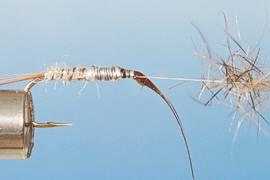
9. Wrap the dubbed thread over the front third of your body, finishing your wraps where the abdomen is supposed to touch the thorax. Now pull your latex strip towards the back and tie down where the two dubbings come together.
.
.
10. Pinch your latex together and cut off, your cut slanting backwards. This will form a nice wing case.
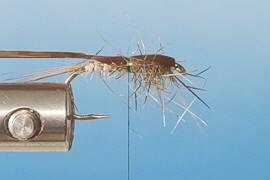
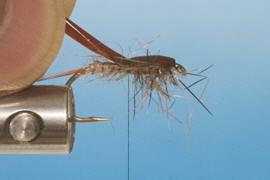
11. Color your tying thread dark and finish your nymph with a whip finish where the latex has been tied down, at the front third of your nymph.
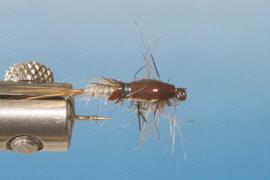
Enjoy fly tying with my instruction and fishing the Universal Mayfly Nymph, Wolfgang
.
.
.
.
Back to the fly tying main page
.
.
Fabisch Fly Fishing home- Wolfgang Fabisch
- Nürnberger Str. 45
- 90542 Eckental / Germany
- Phone 011 49 9126 288640
- Fax 011 49 9126 288643
- Copyright: Wolfgang Fabisch
.
.