Fly tying, the Golden Bead Head Nymph
How to tie the golden bead head nymph
Fly tying made easy, instructions for tying a golden bead head nymph
.
By now there are probably zillions of bead head nymphs, so many you might think the good old patterns might have vanished altogether. A more or less standard nymph tied in all variations of heads and colors in four different sizes gives you an incredible number of patterns. Let´s take a simple nymph with a golden bead for a head in sizes 8,10, 12, and 14. This way you end up with four patterns. Plus the same with a silver instead of a golden bead makes 8 patterns. Add tungsten beads in 10 colors to get 48 patterns. Now you might tie these patterns with different bead sizes per hook size and thus multiply your number of patterns by three or four. You see, this is a never ending story.
For this nymph, I use Kamasan hooks #B405 in sizes 08-16 and Kamasan #B830 for sizes 02-08. I fish the #B405 over here, and #B830 for steelhead in Canada.
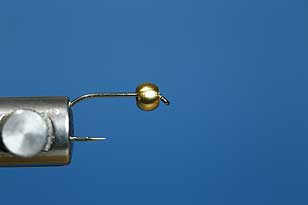
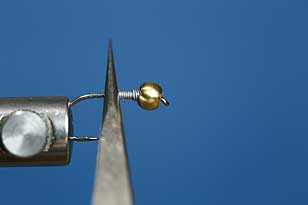
1. put your bead head on the hook shank with the smaller opening facing the eye.
.
.
2. now wrap your lead wire on to define weight and sink rate of your fly. Take care to wrap touching turns so you can wrap a second layer over the first one without the layers slipping into one another. This also makes your nymph more durable.
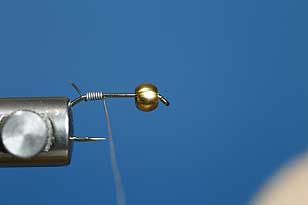
3. you now wrap your second layer halfway back over the first one and use the bead to push your lead wraps slightly towards the hook bend.
.
4. As you move the bead back towards the eye, you form a little gap between the lead and the head. Now apply a drop of Superglue into this gap, and a little bit on the point where the second layer is wrapped over the first. Now don´t tarry so the glue doesn´t set which would mean your lead wraps will stay where they are.
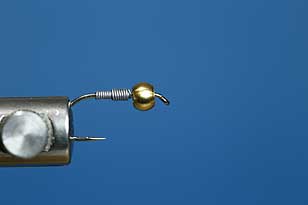
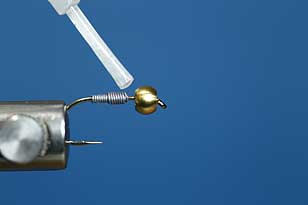
5. now use your fingers or pincers to push the lead into the bead. You should first try if the lead fits into the bead. I keep using Kamasan hooks with my own gold or nickel plated Bead heads and the same brand of lead wire, so I know which combinations will work.
.
.
6. it´s time to wrap on your tying thread. on the photographs I am using Dyneemathread 12/0 in white.
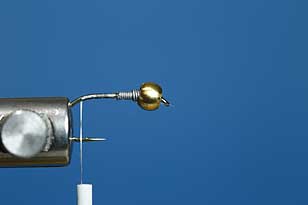
7. near the hook bend, tie in your ribbing thread or Wire, following the old rule: what is to be used first is tied in last.
.
.
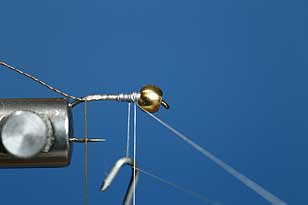
8. now tie in your Body Thread used to form your nymph body. Wrap your tying thread up to your bead.
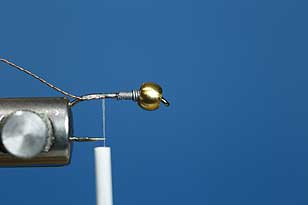
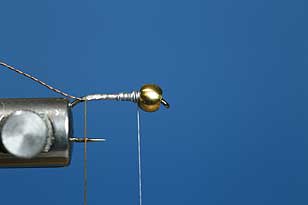
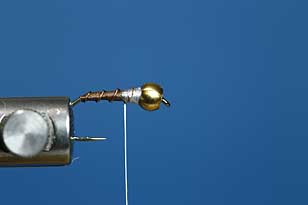
9. secure your tying thread with a half hitch or whip finish and cut it off. The body is supposed to form a slender cone with the fat end at the bead. You wrap your body thread forward all the way, then a little backwards, up front again and a little farther backwards and so on...
10. once the body is ready, you wrap your tying thread back on, wrap it 4 to 5 times over the body thread and clip off your body thread. Next, wrap your ribbing material up front in 3 to 4 turns and tie down your ribbing material at the bead using your Dyneema tying thread.
.
.
- timeout: points 9 and 10 are not valid if you use Dyneema on a Norvise. In this case the thread is laid on the post and the body is shaped by rotating the vise.
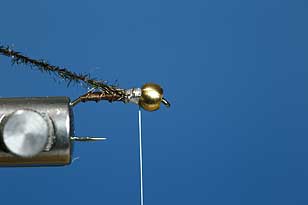
11. tie in one fiber of peacock herl to form your thorax.
.
.
12. 3 to 4 wraps will be enough to form your thorax.
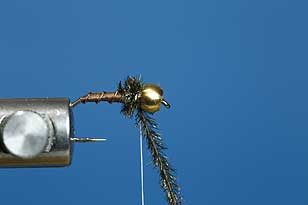
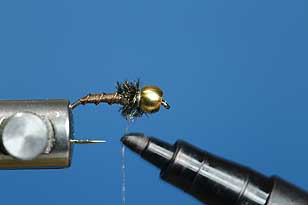
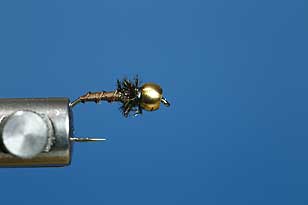
13. use a permanent marker to color your Dyneema black. Tie 2-3 wraps of your colored thread between the peacock herl and the bead and whip finish.
.
.
14. Done! I hope you enjoy tying and fishing your golden bead head nymph!
- Wolfgang Fabisch
- Nürnberger Str. 45
- 90542 Eckental / Germany
- Phone 011 49 9126 288640
- Fax 011 49 9126 288643
- Copyright: Wolfgang Fabisch
.
.